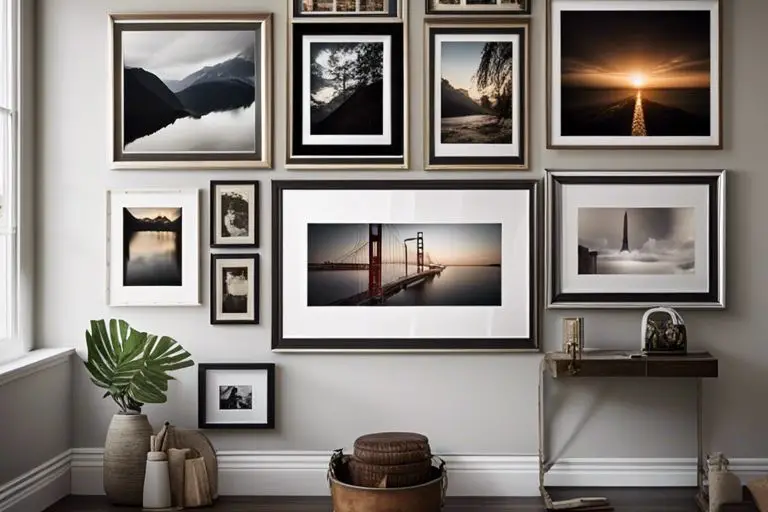
Wall space is a blank canvas waiting to be transformed into a stunning gallery wall that showcases your personality and style. This step-by-step guide will help you curate, arrange, and hang your artwork or photos with precision and creativity. From selecting the right frames to arranging the layout, discover how to turn a plain wall into a captivating focal point that reflects your unique taste and aesthetic. Let’s get started on creating a one-of-a-kind gallery wall in your home!
Key Takeaways:
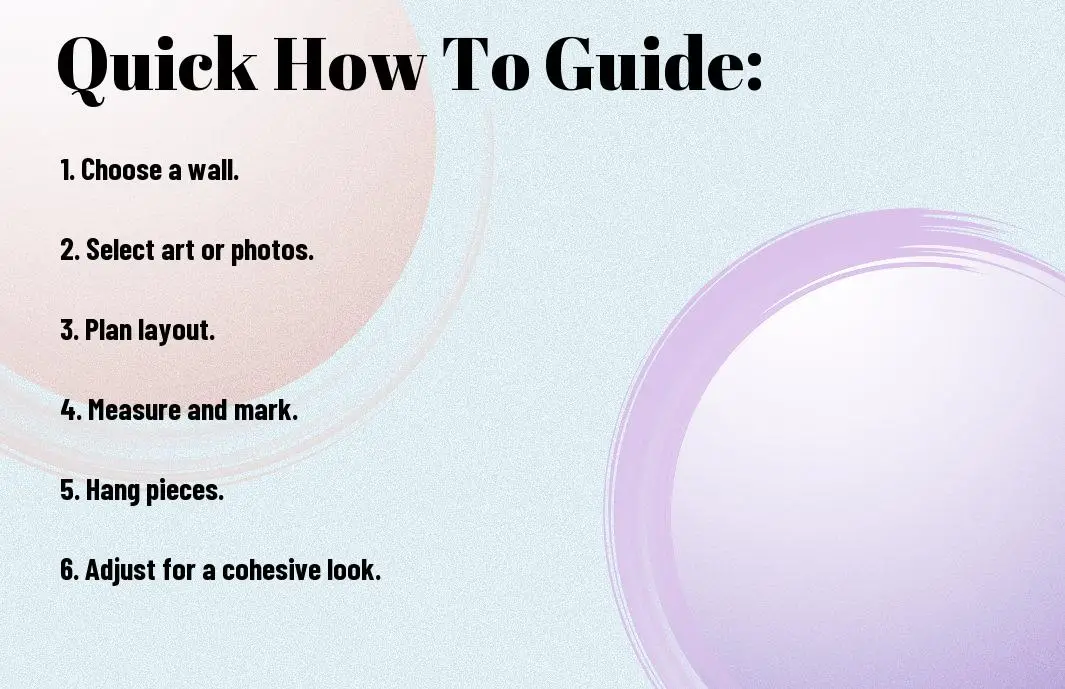
- Plan the Layout: Before hanging any art or photos, plan the layout on the designated wall to ensure everything fits well.
- Consistent Frames: Using consistent frames can bring unity to a gallery wall, even if the art varies in style.
- Vary Sizes and Shapes: Mix up the sizes and shapes of the art or photos to create visual interest and dimension on the wall.
- Spacing Matters: Pay attention to the spacing between each piece to ensure the gallery wall looks cohesive and balanced.
- Test with Templates: Before committing to hanging, use paper templates to visualize the layout and make any necessary adjustments.
- Include Personal Touches: Add personal touches such as family photos, travel mementos, or meaningful artwork to make the gallery wall unique to you.
- Lighting: Consider the lighting in the room when placing the art or photos on the wall to ensure they are properly illuminated and showcased.
Planning Your Gallery Wall
Determining the Purpose of Your Gallery Wall
While creating a gallery wall, it is imperative to start by determining the purpose of the wall. For example, do you want to showcase a collection of family photos, display your favorite artworks, or simply add a decorative element to your space?
Choosing a Unifying Theme or Style
You should consider choosing a unifying theme or style for your gallery wall to ensure a cohesive look. For instance, you could opt for a black and white theme, a botanical theme, or a mix of vintage and modern pieces.
The key is to select a theme or style that reflects your personality and complements the overall aesthetic of the room where the gallery wall will be displayed.
Selecting the Right Wall for Your Gallery
The location of your gallery wall can significantly impact its overall effect. Clearly identify a wall that is spacious enough to accommodate your desired layout and is easily visible to create a focal point in the room.
A well-chosen wall with adequate lighting can enhance the visual impact of your gallery wall and draw attention to your displayed art or photos. Be mindful of factors such as natural light, wall color, and surrounding decor when selecting the right wall for your gallery.
Gathering Materials and Supplies
Frames: Types, Sizes, and Styles
Little, but crucial detail is deciding on the frames for your gallery wall. Consider the types, sizes, and styles you want to use to complement your art or photos. Frames can vary from classic black or white to more ornate designs, so choose ones that enhance the overall look you are aiming for. Assume that a mix of frame styles can add visual interest and depth to your display.
| Black Frames | Ornate Frames |
| White Frames | Wooden Frames |
| Thin Frames | Metal Frames |
Matting and Mounting Options
On your quest to create a stunning gallery wall, matting and mounting are key elements to consider. Adding a mat to a frame can enhance the artwork while providing a clean border. There’s a variety of matting and mounting options available, including different colors, thicknesses, and materials to suit your needs. It is important to choose matting that complements your artwork and helps it stand out on the wall.
Hanging Hardware and Tools
To ensure your gallery wall is securely fastened and perfectly aligned, gather the necessary hanging hardware and tools. There’s a range of options available, such as picture hooks, nails, screws, and a level, to help you mount your frames with precision. It is necessary to select hardware that can support the weight of your frames and keep them in place for a polished finish.
Measuring and Leveling Tools
While creating your gallery wall, precision is key, so having the right measuring and leveling tools is crucial. Understanding the exact placement of each frame and ensuring they are perfectly level will result in a professional-looking display. Assume that investing in a quality tape measure, level, and pencil will make the hanging process smoother and more accurate.
Selecting and Preparing Your Artwork
Choosing the Right Artwork for Your Gallery Wall
Gallery walls are a fantastic way to showcase a collection of art or photographs that reflect your style and personality. When dicking out pieces for your gallery wall, How To Make A Gallery Wall (Selecting, Arranging + Hanging Art) can be a great resource. Consider choosing artwork that varies in size, shape, and color to create visual interest. Make sure to include pieces that you truly love and that evoke a positive emotion when you look at them. Mixing different types of art, such as photographs, paintings, and prints, can add depth to your gallery wall.
Editing and Curating Your Selection
Artwork is a reflection of your personality and taste, so it’s vital to curate your selection carefully. Take the time to edit your choices and ensure that each piece you include contributes to the overall aesthetic of the gallery wall. Consider the theme or color scheme you want to convey and remove any pieces that don’t align with that vision. Be sure to step back and look at the collection as a whole to ensure it flows cohesively.
Preparing Your Artwork for Framing
On your journey to creating a stunning gallery wall, it’s crucial to prepare your artwork for framing properly. Whether you’re framing photographs, prints, or original pieces of art, ensure that they are clean and free of any dust or debris before framing. If you’re framing multiple pieces, consider laying them out on the floor first to experiment with different arrangements. This step will help you visualize how your gallery wall will look before committing to a final layout.
Considerations for Mixing Frame Styles and Sizes
Clearly, one of the most exciting aspects of creating a gallery wall is the opportunity to mix and match frame styles and sizes. Your can play around with different frame colors, materials, and profiles to add depth and dimension to your display. Curating a diverse selection of frames can create a dynamic and visually appealing gallery wall. While there are no hard and fast rules for mixing frame styles and sizes, try to maintain a balance throughout the display to ensure a cohesive look.
Designing Your Gallery Wall Layout
Creating a Visual Plan and Sketch
For a successful gallery wall layout, it’s vital to start with a visual plan and sketch. This process will help you determine the placement of each piece and ensure a cohesive look. To guide you through this step, check out this helpful Creating a Canvas Gallery Wall resource.
Balancing and Symmetry: Tips and Tricks
For a visually pleasing gallery wall, balancing and symmetry are key. When arranging your pieces, consider balance in terms of color, size, and spacing. Symmetry can be achieved by mirroring the layout on both sides of a central point or by creating a harmonious arrangement. Remember that balance doesn’t always mean exact symmetry, but rather a sense of equilibrium across the display. After finalizing your layout, step back and assess the overall balance and make adjustments as needed.
- Balance your pieces by distributing visual weight evenly.
- Create symmetry for a cohesive look.
- After arranging, step back to evaluate and make any needed changes.
Considering Negative Space and Visual Flow
Wall space is not just about what you hang; it’s also about the negative space around and between your pieces. To create a visually appealing gallery wall, consider how much space to leave between each piece to allow for visual flow. The negative space helps highlight the art or photos and gives the display a sense of openness and balance.
Your gallery wall is more than just the sum of its parts; it’s about how each piece interacts with the others and the surrounding space. By carefully considering negative space, you can enhance the overall aesthetic and impact of your display.
Experimenting with Different Layout Options
There’s no one-size-fits-all approach to creating a gallery wall, so don’t be afraid to experiment with different layout options. Options include a grid layout for a structured look, a salon-style arrangement for a more eclectic feel, or a linear display for a modern touch. Each layout option can evoke a different mood and create a unique visual impact in your space. Remember to have fun and let your personal style shine through as you explore different arrangements.
There’s no right or wrong way to design your gallery wall, so trust your instincts and play around with various layouts until you find one that speaks to you. By experimenting with different options, you can discover the perfect arrangement that showcases your art or photos in the best light.
Hanging Your Gallery Wall
Many people find the process of hanging a gallery wall to be intimidating, but with the right guidance, it can be a fun and rewarding project. For a step-by-step guide on how to create a picture wall or gallery wall, you can check out How To Create A Picture Wall / Gallery Wall – Step By Step.
Measuring and Marking Your Wall
Some key steps to consider when creating a gallery wall include measuring the wall space, marking the layout on the wall with painter’s tape or pencil, and ensuring that the frames are evenly spaced. This preparation will help you visualize the final look of your gallery wall before making any holes in the wall.
Hanging Frames: Tips for Straight Lines and Level Surfaces
Any successful gallery wall starts with straight lines and level surfaces. To achieve this, use a level tool to ensure that each frame is hung perfectly straight. You can also use picture-hanging hardware such as hooks, nails, or adhesive strips to secure the frames in place. The key is to take your time and make small adjustments as needed to achieve a professional-looking display. The precision will enhance the overall appeal of your gallery wall.
Working with Irregularly Shaped Frames or Objects
Shaped frames or objects can add a unique touch to your gallery wall. When working with irregularly shaped items, consider using adhesive putty or mounting squares for lightweight items and hooks or brackets for heavier pieces. Ensure these items are securely attached to the wall to prevent accidents. Additionally, you can create a focal point by strategically placing these objects among your framed artwork.
Adding Final Touches and Adjustments
Plus, incorporating final touches and making adjustments is a crucial part of creating a polished gallery wall. Objects like decorative shelves, small plants, or LED lights can add depth and interest to your display. Consider stepping back to evaluate the overall arrangement and make any necessary tweaks to achieve the desired look. This process allows you to fine-tune the display and ensure that every detail is in its perfect place.
This comprehensive guide on hanging your gallery wall covers key aspects such as measurements, leveling, working with irregularly shaped items, and adding final touches. Following these steps will help you create a visually appealing gallery wall that showcases your art or photos in the best possible way. Note, patience and attention to detail are vital for a successful outcome.

Tips for Creating a Cohesive Look
Keep consistency in mind when creating a gallery wall to ensure a cohesive look. This can be achieved by unifying frames and matting, playing with texture and dimension, incorporating other decorative elements, and creating a focal point or centerpiece. These tips will help bring your gallery wall together for a visually appealing display.
Unifying Frames and Matting
An important aspect of creating a cohesive gallery wall is to use matching frames or frames in similar styles and colors. This will help tie the pieces together and create a more harmonious look. Additionally, consider using consistent matting for your art or photos to further unify the overall appearance. Choosing frames and matting that complement each other will create a polished and cohesive gallery wall look. Though, don’t be afraid to mix in some different frames for added interest.
Playing with Texture and Dimension
For added visual interest, play with texture and dimension when creating your gallery wall. Mix in different materials such as wood, metal, or acrylic frames to add variety. You can also experiment with layering artwork or photos to create depth. By incorporating texture and dimension, you can create a dynamic and visually appealing gallery wall that will capture the attention of anyone who views it.
Matting can also play a role in adding dimension to your gallery wall. Consider using double matting or choosing mats with varying thickness to create a layered look. This subtle detail can make a big impact on the overall aesthetic of your display.
Incorporating Other Decorative Elements
With the right decorative elements, you can elevate your gallery wall to the next level. Consider incorporating items like decorative mirrors, sconces, or wall decals to enhance the overall look. These elements can add visual interest and help tie the gallery wall into the rest of the room’s decor. It’s important to strike a balance and not overcrowd the wall with too many elements, so choose items that complement the art or photos on display.
Creating a Focal Point or Centerpiece
Creating a focal point or centerpiece on your gallery wall can help anchor the display and draw the eye to a specific area. This can be achieved by placing a larger or standout piece in the center of the arrangement, or by framing a special photograph in a unique way. Another approach is to use a bold color or patterned artwork as the focal point to create a visually striking centerpiece. Consider the overall balance and composition of your gallery wall to ensure that the focal point enhances the display rather than overpowering it.
Conclusion
On the whole, creating a gallery wall is a fun and creative way to display art or photos on a designated wall in your home. By following the steps outlined in this guide, you can easily create a visually appealing gallery wall that reflects your personal style and showcases your favorite pieces.
Remember to choose a cohesive theme or color scheme, mix and match different sizes and frame styles, and experiment with layout options to create a gallery wall that is unique and eye-catching. Whether you’re a seasoned art collector or a novice looking to display your favorite memories, a gallery wall is a versatile and customizable design solution that can instantly elevate the look of any room in your home.
FAQ
Q: What is a gallery wall?
A: A gallery wall is a curated display of art or photographs on a designated wall in a creative and visually appealing manner.
Q: How do I start creating a gallery wall?
A: Begin by selecting a wall in your home that you want to transform into a gallery space. This could be a focal point in a living room, hallway, or staircase.
Q: What types of artwork can be used in a gallery wall?
A: You can use a variety of art pieces such as paintings, prints, photographs, posters, and even decorative objects like wall sculptures or woven baskets.
Q: How do I choose a layout for my gallery wall?
A: There are various layout options such as grid, salon-style, or eclectic. You can plan your layout by arranging the artwork on the floor first to visualize the design before hanging.
Q: What tools do I need to create a gallery wall?
A: To create a gallery wall, you will need a measuring tape, level, pencil, hammer, nails, picture hooks, and wall putty for any holes.
Q: How do I ensure the gallery wall is cohesive?
A: To ensure cohesiveness, consider a theme or color scheme for the artwork. You can also use matching frames or mats to tie the pieces together visually.
Q: Any tips for maintaining a gallery wall?
A: Regularly dust the artwork and frames to keep them clean. Use caution when cleaning around the pieces and avoid using harsh chemicals that may damage the art.