Home projects let you transform your space on a budget; assess needs, plan costs, prioritize repairs, learn basic skills, avoid electrical hazards, and use smart shopping to save money for lasting results.
Key Takeaways:
- Plan projects and prioritize improvements that boost comfort, function, or resale potential.
- Set a strict budget with a 10-15% contingency for unexpected costs.
- Compare DIY and professional options; handle painting, basic repairs, and trim work yourself to reduce labor expenses.
- Shop smart: buy during sales, use reclaimed or surplus materials, and price-match suppliers.
- Target high-impact, low-cost upgrades-paint, lighting, fixtures, and hardware-and confirm permits and inspections to avoid costly rework.
Steps 1 & 2: Strategic Planning and Budgetary Control
Plan your projects by mapping needs, timelines and quick wins so you can cut waste and focus on cost-saving choices; balancing scope keeps upgrades practical and prevents expensive overruns.
Prioritizing High-ROI Home Improvements
Choose projects you can afford that raise resale value and comfort-kitchens, baths, and curb appeal often deliver the highest returns; target high-ROI tweaks and avoid low-impact cosmetic splurges.
Establishing a Realistic Financial Ceiling
Set a firm budget cap that covers materials, labor, and a 10-15% contingency for surprises, so you won’t face cost overruns that derail plans.
Calculate realistic costs by getting multiple quotes, checking local prices, and prioritizing items; freeze nonvital upgrades to stay within your financial ceiling and avoid tapping high-interest credit that creates long-term strain.
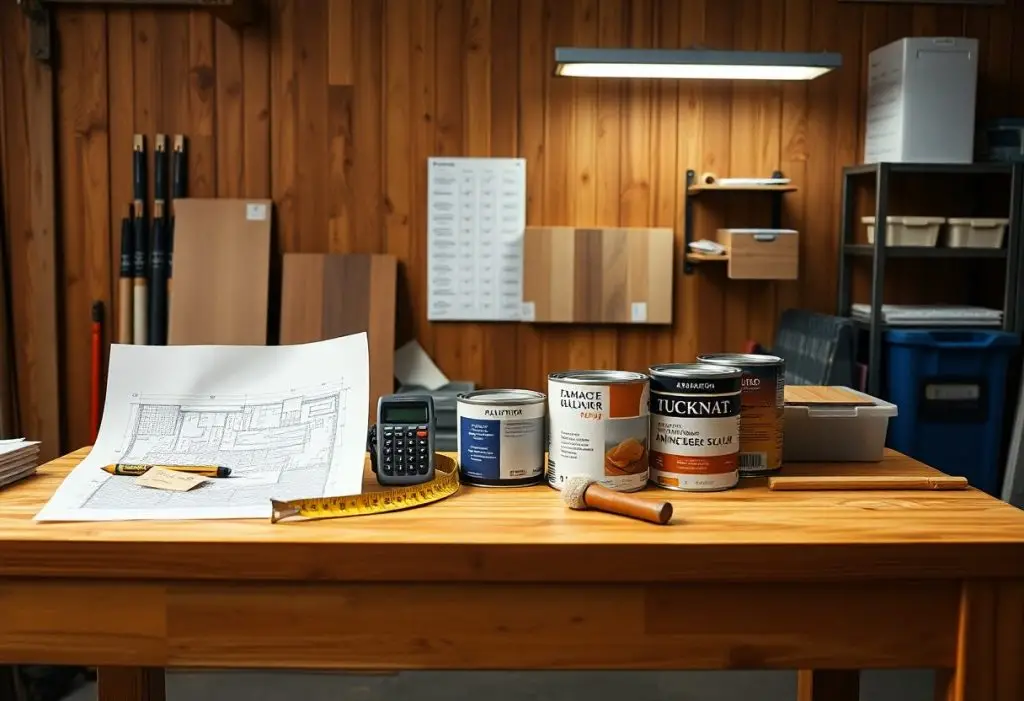
Step 3: Smart Sourcing and Material Acquisition
You can cut renovation costs by comparing auctions, local suppliers and bulk deals; always inspect for damage and hazardous materials, confirm return policies, and use samples before buying large quantities to save hundreds on materials.
Navigating Liquidation and Reclaimed Markets
Explore liquidation lots and reclaimed yards for quality fixtures; ask about provenance, and inspect for pests, rot, or lead paint before you factor in transport and restoration costs to weigh huge savings against repairs.
Upcycling Existing Fixtures and Hardware
Consider refreshing cabinets, lighting and hardware by sanding, priming and repainting; test and replace electrical parts, polish metal finishes, and keep documentation so you can cut costs while maintaining safety standards.
Inspect fixtures for structural issues, rewire lamps with proper connectors, strip old finishes with safe methods, and use low-VOC paints; always check wiring and lead paint and label restored pieces to extend lifespan and resale value.
Step 4: High-Impact Cosmetic Transformations
Small changes you make now can deliver big visual returns while staying under budget. Focus on clean prep, targeted updates and durable finishes to get high ROI without major expense.
The Power of Professional-Grade Painting
Pro-grade paints and proper prep let you refresh rooms quickly; you control color and finish while avoiding peeling. Use low-VOC options and ventilate to limit fume risks.
Modernizing Spaces Through Strategic Lighting
Smart lighting choices transform mood and function: you should mix ambient, task, and accent layers to highlight features, cut energy bills, and create instant warmth.
You can replace bulbs with LEDs, select 2700-3000K for warm rooms, add dimmers for flexibility, and position fixtures to avoid glare; check wiring to prevent overloading.
Step 5: Targeted Kitchen and Bath Refurbishment
Kitchen and bath tweaks deliver big impact on a budget; focus on paint, fixtures, grout, and minor plumbing. You can cut costs by doing demo yourself but call a pro for electrical or gas work to avoid danger. Prioritize high-visibility fixes for maximum value.
Updating Cabinetry and Hardware Components
Cabinets get a fresh look without full replacement: you can repaint, reface, or swap hardware to transform style. Install soft-close hinges and new pulls, and inspect for water damage since hidden rot inflates costs. Small changes deliver big visual returns.
Implementing Low-Cost Surface Improvements
Surfaces respond well to low-cost fixes: you can use peel-and-stick tile, reseal countertops, and refresh grout to lift appearance. Use proper ventilation when applying adhesives or paint to avoid fumes. These updates are fast and deliver noticeable improvement.
Prep thoroughly by cleaning, sanding, and priming to ensure adhesion; you should remove oils and loose grout before applying treatments. Consider epoxy kits for scratched counters or a tub glazing kit for stained porcelain, but never ignore persistent leaks or mold-those structural issues require a professional. Proper prep multiplies the impact of inexpensive materials.

Step 6: Enhancing Energy Efficiency and Sustainability
You can cut bills and emissions with targeted upgrades like LED lighting, insulation, weatherstripping, efficient appliances and smart thermostats; prioritize sealing leaks to avoid high energy costs and drafts, and consider small solar or heat-pump upgrades for long-term savings.
Reducing Costs Through Weatherization
Seal gaps, add attic or wall insulation, and caulk windows to reduce heating and cooling loss; you can DIY or hire a pro, but leaving air leaks risks higher bills and moisture problems.
Installing Low-Consumption Utility Fixtures
Swap old toilets, faucets, and showerheads for WaterSense or low-flow models to cut water use and utility bills; ensure correct fitting to prevent water damage from leaks.
Upgrade fixtures by choosing high-efficiency toilets (dual-flush), low-flow showerheads with good spray, and faucet aerators; you should check water pressure and valve compatibility, test after install to spot leaks, and hunt for local rebates to offset costs while enjoying steady savings on bills.
Step 7: Mastering DIY Skills and Labor Management
You can slash costs by improving your DIY skills and managing labor: practice basics, invest in proper tools, schedule realistic time, and accept task limits to avoid expensive rework; prioritize safety and hire out anything that risks systems or structure. Focus on tasks where you can save labor costs without endangering the project.
Identifying Tasks for Safe Self-Execution
Identify projects you can handle confidently: painting, flooring, tiling, and simple carpentry; avoid electrical, gas, and major structural work and anything requiring permits or specialized trade skills to prevent costly mistakes or safety hazards.
Vetting and Coordinating Professional Contractors
Choose contractors by verifying licenses, insurance, and references, comparing written estimates, and agreeing on clear timelines, payment milestones, and permit responsibilities to protect you and your budget.
When you vet contractors, insist on copies of current licenses and insurance, call recent clients, and view completed work in person or online. Ask for itemized bids and a written contract that defines scope, timeline, change orders, payment milestones with retainage, permit duties, and warranty. Refuse hires with no permits or no insurance to avoid financial and safety exposure; keep written communication and receipts for every change.
Summing up
With this in mind you can plan priorities, stick to a budget, choose cost-effective materials, tackle DIY where safe, get multiple quotes, focus on high-impact updates, and track expenses to avoid overspend.
FAQ
Q: How should I prioritize projects within the “7 Essential Steps For Effective Home Improvement On A Budget”?
A: Start by addressing safety and functionality issues such as electrical, plumbing, and structural repairs. Focus next on high-return, low-cost upgrades like fresh paint, improved lighting, and updated hardware. Create a detailed project list with cost estimates, set a firm budget that includes a 10-15% contingency, and sequence work to avoid redoing completed tasks: demolition, structural and rough-ins, insulation, finishes, then fixtures and final touch-ups. Use DIY for simple tasks and hire licensed professionals for work that requires permits or specialized skills. Source materials during sales, buy gently used items, rent tools, and refinish or repurpose existing pieces to save money.
Q: What practical tactics help me stick to a budget while following the seven-step process?
A: Build a line-item budget covering materials, labor, permits, and disposal, then track expenses against it. Prioritize projects that deliver visible impact for low cost, such as paint, trim, and LED lighting. Compare multiple contractor quotes, negotiate bulk discounts on materials, and purchase during seasonal sales or from surplus suppliers. Break larger projects into phases to spread costs, rent expensive tools instead of buying, and perform DIY tasks when safe and efficient. Account for hidden costs like disposal fees and potential unexpected repairs to avoid overspending.
Q: Which steps from the seven-step plan are best handled by professionals and which are suitable for DIY?
A: Engage licensed professionals for structural modifications, major electrical or plumbing work, HVAC installations, roofing, and any work requiring permits or inspections. Tackle DIY-friendly tasks such as painting, installing trim, replacing fixtures, basic tile work, cabinet refacing, caulking, and simple landscaping. Evaluate your skill level, time availability, and local code requirements before deciding. Request written estimates, verify licenses and insurance, check references, and coordinate contractor schedules so professional work aligns with your project sequence and avoids delays.