Most of your projects start with a clear plan; you should prioritize safety, watch for electrical hazards, and follow steps that deliver beautiful, lasting results.
Key Takeaways:
- A clear plan and set priorities keep scope focused and guide design choices.
- A realistic budget and timeline reduce surprises and inform material selections.
- Choosing one or two focal projects creates visible impact without overwhelming resources.
- Selecting quality materials for high-use areas balances cost with long-term durability.
- Hiring professionals for structural or systems work while DIYing cosmetic updates saves time and money.
Step 1: Defining Your Unique Aesthetic Vision
Define your aesthetic by naming what moves you visually; mix textures, eras, and a signature color to anchor decisions while guarding against overspending that can stall the project.
Identifying Personal Style Preferences
Explore favorite rooms, photos, and fabrics to identify patterns you love, then let scale and daily use steer choices so you avoid costly mismatches.
Building a Functional Design Mood Board
Create a mood board pairing inspiration images with measurements, budget notes, and a concise palette so you preview combos and catch scale issues before buying.
Assemble physical or digital boards that include a simple floor plan, swatches, photos of existing pieces, vendor links, and priced options; tag items by priority and budget so you can test layouts, flag lighting gaps and prevent budget overruns. Use the board to confirm cohesion and lock sensible purchases.

Step 2: Strategic Financial and Timeline Planning
Plan your finances and timeline with staged budgets, a built-in contingency, and firm milestones so you control scope and risk. You should allocate a 10-20% contingency and monitor permits to avoid costly delays.
Establishing a Comprehensive Project Budget
Create a detailed budget listing materials, labor, permits, and a contingency fund to cover unexpected costs; you will stay on track and prevent overspending.
Mapping Out a Realistic Construction Schedule
Outline a realistic schedule with phased milestones, contractor lead times, and permit deadlines; you must factor weather and supplier delays so expectations remain grounded and progress measurable.
Schedule realistic buffers around key tasks, confirm subcontractor availability, sequence trades to reduce idle time, and set weekly checkpoints so you catch permit or material setbacks early; those setbacks are the most common causes of extended timelines.
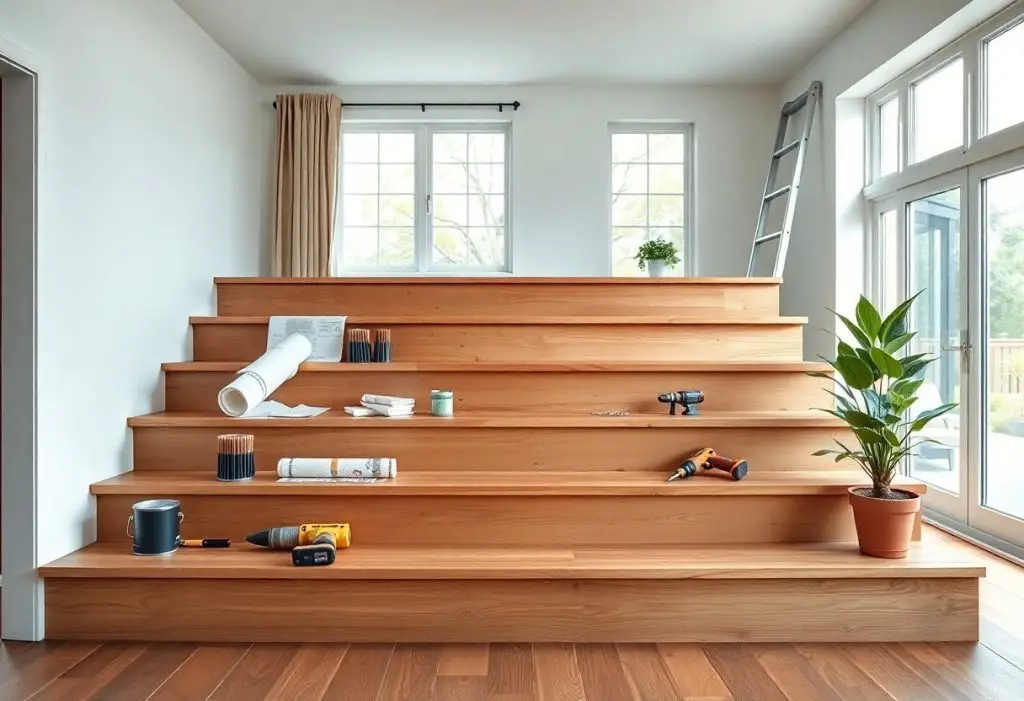
Step 3: Sourcing Premium and Sustainable Materials
Sourcing premium, sustainable materials changes the long-term value of your project: choose suppliers with independent certifications, low-VOC products, and transparent supply chains so you avoid hidden costs and health risks.
Selecting High-Performance Surface Finishes
Select surface finishes that match function: pick scratch-resistant or stain-proof options in high-traffic areas, and prioritize low-maintenance coatings to reduce long-term care.
Evaluating Long-Term Material Durability
Assess material longevity by checking lab ratings, climate suitability, and manufacturer warranties; favor moisture-resistant choices in damp zones to prevent costly failures.
Inspect product data sheets and request ASTM test results, sample them in situ, and compare expected lifecycle cost versus upfront price. You should verify compatibility with existing structures, check for UV-stable or termite-resistant ratings where relevant, and read warranty fine print for warranty exclusions. Ordering small trial quantities lets you spot defects before major installation.
Step 4: Optimizing Spatial Flow and Functionality
Optimize circulation by rearranging furniture, widening walkways, and clarifying zones so you create efficient flow that supports daily routines while eliminating trip hazards.
Reimagining Floor Plans for Better Utility
You can open sightlines, reassign underused rooms, and shift nonstructural walls to gain practical square footage for cooking, working, or storage without overbuilding.
Improving Room-to-Room Traffic Patterns
Arrange pathways so you move naturally between kitchens, entries, and living areas, keeping a minimum 36-inch clear route and reducing congestion.
Consider mapping daily movement to identify pinch points, then reposition furniture to preserve a 36-inch main route and 32-inch passing width; this creates better circulation while preventing falls from cluttered paths. Test door swings and threshold heights, remove or secure low rugs, and add targeted lighting to highlight steps so you reduce trip hazards and improve accessibility.

Step 5: Mastering the Application of Light and Color
Light shapes every room; you guide it with color, glazing, and placement to craft mood and function-balance natural light with layered fixtures to avoid glare and boost comfort.
Developing a Cohesive Interior Color Palette
Palette choices anchor flow; you pick a dominant tone, add two supporting shades and one bold accent, and test samples under actual lighting to ensure harmony throughout the day.
Strategic Implementation of Layered Lighting
Lighting layers define comfort; you combine ambient, task, and accent fixtures, install dimmers, and zone circuits so brightness matches each activity and mood.
Layered lighting ties function and atmosphere: you plan ambient sources like recessed or pendant fixtures for even illumination, add task lights-under-cabinet strips, desk lamps-for focused work, and place accent lights to highlight art or texture. Select LEDs with high CRI and the right color temperature; include dimmers and separate switches to control mood. Watch for glare and overheating, and consult an electrician to prevent circuit overloads and ensure safe placement.
Steps 6-7: Interior Styling and Personalization
Balance bold accents with calm basics as you finish styling, focusing on comfort, proportion and touches that make your home feel uniquely lived-in and welcoming.
Selecting Impactful Statement Furnishings
Choose one or two statement pieces to anchor a room, match scale to the space, and prioritize functionality so you avoid visual clutter and awkward circulation.
Layering Textures and Meaningful Decor
Mix textiles, finishes, and personal keepsakes to add depth; you blend soft, rough, and shiny surfaces so rooms read as tactile, curated, and unmistakably yours.
Play with scale and contrast: you can pair a chunky knit with sleek metal, layer rugs for warmth, and hang treasured art at eye level while avoiding overstuffing to maintain clarity and comfort.
Conclusion
Summing up, you can transform your space by planning clearly, setting a realistic budget, prioritizing quality materials, choosing the right professionals, balancing function and style, scheduling maintenance, and enjoying the process for lasting results.
FAQ
Q: What are the seven steps in “7 Inspiring Steps Toward A Beautiful Home Improvement Journey”?
A: Step 1: Define your vision and style with specific goals for each room and a few inspirational images to keep decisions focused. Step 2: Assess your current space by noting structural issues, electrical or plumbing constraints, and storage needs to avoid surprises later. Step 3: Set a realistic budget that includes a 10-20% contingency and ranks priorities so money goes to the most impactful changes first. Step 4: Create a design and plan that balances aesthetics, flow, and function, including rough layouts, material samples, and a phased timeline. Step 5: Source materials and finishes early to avoid lead-time delays and compare alternatives for cost, durability, and maintenance. Step 6: Hire contractors or schedule DIY tasks, secure permits if required, and establish a clear work sequence to minimize disruptions. Step 7: Complete final touches, perform a thorough walkthrough with any contractors, and establish a maintenance plan to preserve the changes and enjoy the results.
Q: How should I plan my budget and timeline for a multi-step home improvement project?
A: Start by listing required work, nice-to-have items, and estimated costs for each element to create a prioritized budget. Get at least three quotes for major trades and ask about typical hidden costs so contingency planning is realistic. Break the project into phases that allow your home to remain functional during work, and align timelines with contractor availability, material lead times, and seasonal considerations. Track expenses and schedule adjustments in a single document or app, and schedule critical inspections early to prevent permit-related delays.
Q: When is it better to hire professionals versus tackling improvements yourself?
A: Hire licensed professionals for structural changes, major electrical or plumbing work, and any task that requires permits to ensure safety and code compliance. Vet candidates by checking references, confirming licensing and insurance, and requesting detailed, written bids with timelines and payment schedules. Reserve DIY for cosmetic work, painting, minor demo, or projects within your skill set and tool access; estimate the true time and replacement-cost risk before choosing DIY. For hybrid approaches, plan clear handoffs where pros handle core systems and you complete finishes to reduce labor costs without sacrificing quality.