
This comprehensive guide will walk you through installing floating shelves to increase storage and display space in any room. Learn the step-by-step process, including vital tools and safety precautions to ensure a successful project. With these tips, you can transform your walls and enhance the functionality of your space with stylish, floating shelves.
Key Takeaways:
- Determine the placement: Measure the space you will be installing the shelves in and decide the placement before starting the installation process.
- Select the right hardware: Choose the appropriate hardware, such as brackets or floating shelf support, based on the weight the shelves will hold.
- Locate the studs: Use a stud finder to locate the studs in the wall where you will be mounting the shelves for maximum stability.
- Level the shelves: Use a level to ensure that the shelves are straight and even during installation.
- Secure the shelves: Follow the manufacturer’s instructions for attaching the brackets or supports securely to the wall before placing the shelves on them.
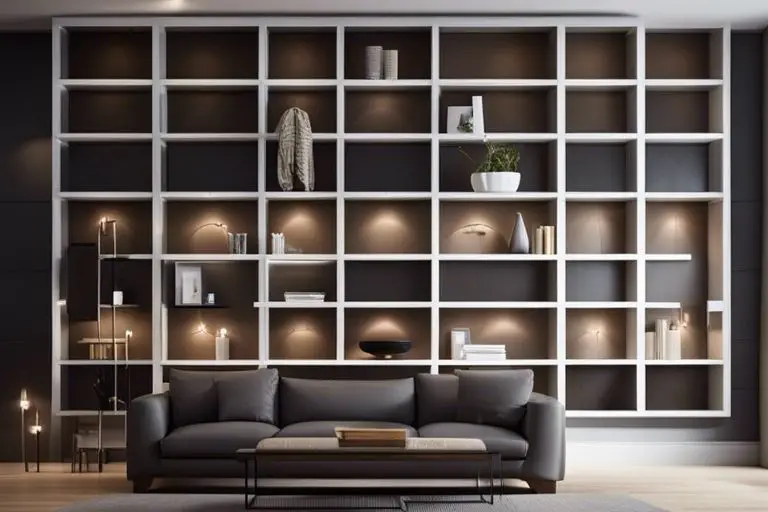
- Add finishing touches: Once the shelves are installed, style them with decor, books, or storage bins to maximize their functionality and aesthetic appeal.
- Maintain and clean: Regularly dust and clean the shelves to keep them looking their best and extend their lifespan.

Preparing for Shelving Installation
Assessing Your Wall Type
The first step in preparing for shelving installation is to assess the type of wall you will be working with. Different wall materials, such as drywall, plaster, or masonry, will require specific tools and techniques for proper installation. You can determine your wall type by tapping on it – a hollow sound indicates drywall, while a solid sound may indicate plaster or masonry.
Gathering Essential Tools and Materials
Clearly, before you start installing shelves, you will need to gather all the vital tools and materials. Basic tools typically include a stud finder, level, drill, screws, anchors, and a measuring tape. Additionally, you will need the shelf brackets and the shelves themselves. Having all these items ready and at hand will make the installation process go more smoothly.
Gathering all the tools and materials beforehand will help you avoid interruptions during the installation process, allowing you to complete the project efficiently. It’s always a good idea to double-check that you have everything you need before you begin installing the shelves.
Measuring and Marking the Wall
To ensure that your shelves are level and properly spaced, it’s crucial to measure and mark the wall before installation. Use a measuring tape and a level to mark where the shelves will go, and to locate the studs in the wall for anchoring purposes. Taking the time to measure and mark accurately will result in a more professional-looking finished product.
Installation Tip: Make sure to use a pencil for marking the wall, as it is easily removable if adjustments need to be made. Double-check your measurements before drilling any holes to avoid costly mistakes.
Choosing the Right Shelving System
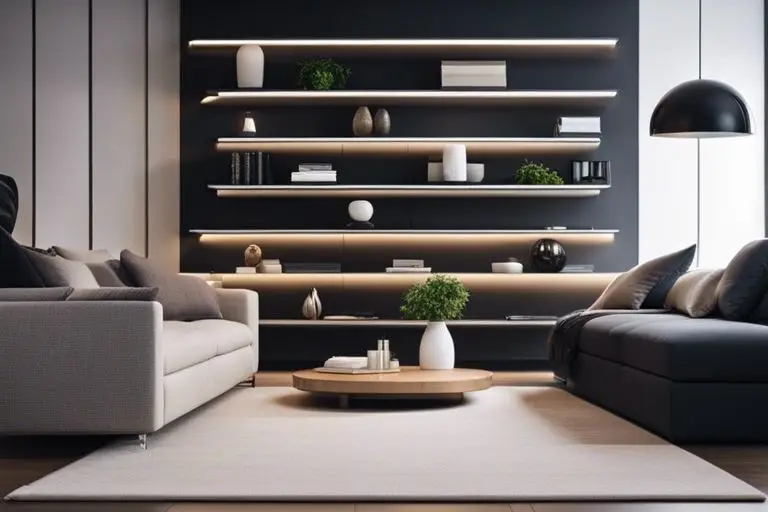
There’s Add A Minimalist Look To Your Space With Floating Shelves a wide variety of shelving systems available to suit different needs and aesthetics. When choosing the right shelving for your space, it’s important to consider factors like load capacity and durability.
Factors to Consider: Load Capacity and Durability
- When choosing floating shelves, consider the weight of the items you plan to display or store on them.
- Durability is crucial, especially for heavy items or high-traffic areas.
- Ensure the shelving system is securely mounted to the wall to handle the weight.
- Opt for materials such as sturdy wood or metal for long-lasting shelf support.
- The brackets that support the shelves should also be of high quality and able to withstand the weight over time.
The choice of floating shelves should not only complement your space aesthetically but also provide the necessary support and durability for your items. The right shelving system will enhance both the functionality and visual appeal of the room.
Types of Floating Shelves: Wood, Metal, and Glass
- Wood shelves add a warm and natural feel to a space, metal shelves lend a contemporary and industrial look, while glass shelves contribute a modern and sleek appearance.
- Perceiving the style and ambiance you want to achieve in the room can help guide your choice of floating shelves.
| Wood Shelves | Provide a classic and rustic look, ideal for traditional or cozy spaces. |
| Metal Shelves | Offer a modern and sleek appearance, suitable for contemporary or industrial settings. |
| Glass Shelves | Contribute a minimalist and sophisticated look, perfect for modern and elegant spaces. |
| Mix and Match | Combine different materials for a unique and customized shelving display. |
| Custom Designs | Create bespoke shelves to fit your specific style and storage needs. |
Shelving systems come in various materials and designs, each offering unique characteristics to enhance your space. Whether you prefer the warmth of wood, the sleekness of metal, or the modernity of glass, there are options to suit every style and preference. Perceiving your desired ambiance and functionality will guide you in selecting the ideal floating shelves for your space.
Selecting the Ideal Shelf Size and Design
Little details can make a big difference when it comes to selecting the ideal shelf size and design. Consider the dimensions of your wall space, the items you plan to display, and the overall aesthetic of the room. Plus, ensure the shelving design complements the existing decor and adds both functionality and visual appeal to the space.

Installing Wall Anchors and Brackets
Understanding Wall Anchor Types: Molly, Toggle, and Screw
Your shelving system will only be as strong as the anchors that support it. Wall anchors come in various types, such as Molly, Toggle, and Screw anchors. Molly anchors are ideal for heavy-duty applications as they provide strong support by expanding behind the wall. Toggle anchors are great for medium to heavy items and work by spring-loading against the back of the wall. Screw anchors are perfect for light to medium-duty shelving and are the easiest to install. Knowing the weight of items you will store on the shelves will help determine the appropriate anchor type for your project. Consult the packaging or a hardware store expert to choose the right anchors for your shelves. Any miscalculation here could result in your shelves coming loose from the wall.
| Anchors | Weight Capacity |
| Molly Anchors | Heavy-duty |
| Toggle Anchors | Medium to heavy items |
| Screw Anchors | Light to medium-duty |
Drilling and Installing Wall Anchors
To ensure the stability of your shelves, it is crucial to properly drill and install wall anchors. Begin by selecting the appropriate drill bit size for the anchors and then carefully drilling into the wall at the marked spots. Insert the anchors into the holes and use a hammer to ensure they are flush with the wall surface. Any deviation here could compromise the integrity of the anchors and affect the shelf’s stability. Always follow the manufacturer’s instructions when installing wall anchors to guarantee a secure fit.
Attaching Brackets to the Wall Anchors
Anchoring brackets to the wall is the final step in installing your floating shelves. Use the screws provided with the brackets to attach them securely to the wall anchors. Make sure the brackets are level before tightening the screws completely. Any imbalance here could result in the shelves being slanted or uneven. After attaching the brackets, simply slide the shelves onto them to complete the installation.
Understanding the different types of wall anchors and their respective weight capacities is important in ensuring the durability and strength of your shelving system. Properly drilling and installing the anchors will provide a solid foundation for your shelves, while securely attaching the brackets will ensure a stable base for your items. Ensure you follow the manufacturer’s guidelines and seek professional advice if needed to avoid any mishaps during the installation process.
Assembling and Mounting the Shelves
Tips for Assembling Shelf Components
Many floating shelves come with easy-to-assemble components that require simple tools like a screwdriver. Follow the manufacturer’s instructions carefully to ensure a proper fit and sturdy construction. Before starting, lay out all the pieces and hardware to familiarize yourself with the components.
- Double-check that you have all the necessary parts before starting the assembly process.
- Use a level to ensure that your shelves will be straight and even once installed.
- Tighten all screws and bolts securely to prevent any wobbling or instability once the shelves are mounted.
The final step is to test the strength of the shelves by placing some weight on them. Make any necessary adjustments before proceeding to mount the shelves to the brackets.
Mounting the Shelves to the Brackets
Some floating shelf brackets come with pre-drilled holes, making it easier to attach the shelves securely to the wall. Ensure that the brackets are level and properly aligned before mounting the shelves on them. Use a drill to secure the brackets to the wall, following the manufacturer’s guidelines.
Plus, use anchors for extra support if you are unable to drill into wall studs. Once the brackets are securely attached, carefully place the shelves on top of them and double-check for stability. Ensure the shelves are evenly spaced and level before placing any items on them.
Leveling and Adjusting the Shelves
Leveling and adjusting the shelves is crucial for both the aesthetic appeal and functionality of your floating shelves. A level is necessary to ensure that the shelves are straight and not tilted. Make any necessary adjustments by loosening the brackets slightly and repositioning the shelves until they are perfectly level.
Adding Supports and Reinforcements
Unlike traditional shelves, floating shelves require special attention to supports and reinforcements to ensure they can hold the weight of your items securely. For a detailed guide on how to install heavy-duty floating shelves, you can refer to How To Install Floating Shelves With Floating Shelf ….
When to Use Additional Supports: Heavy Loads and Long Shelves
Now, it’s important to consider additional supports when dealing with heavy loads or long shelves. If you plan to display heavy items like books, ceramics, or kitchen appliances, or if your shelves are longer than typical lengths, it’s recommended to add reinforcement to prevent sagging or accidents.
Installing Reinforcement Brackets and Corbels
Heavy-duty floating shelves may require reinforcement brackets and corbels to provide extra support. These additional elements can distribute weight more evenly and help stabilize the shelf, especially when supporting heavier items. Proper installation of reinforcement brackets and corbels is imperative for the longevity and safety of your floating shelves.
Installing reinforcement brackets and corbels is a straightforward process that involves securely attaching them to the wall studs to ensure maximum stability. Be sure to follow the manufacturer’s instructions and use appropriate hardware to guarantee a strong and reliable support system for your shelves.
Securing Shelves to the Wall: Anti-Tip Brackets and Screws
On top of using reinforcement brackets and corbels, it’s crucial to secure your shelves to the wall using anti-tip brackets and screws. These additional safety features can prevent accidental tipping or falling of the shelves, especially in high-traffic areas or homes with children or pets.
Supports are imperative for floating shelves to bear weight safely, preventing any potential hazards and ensuring the longevity of your storage and display solution.
Finishing Touches and Safety Considerations
All DIY Floating Shelves for Easy Storage require some finishing touches to complete the look and ensure safety in your home.
Sanding and Painting the Shelves (Optional)
Painting: Once the shelves are hung, consider sanding down any rough edges and applying a fresh coat of paint or stain to match your decor. This step is optional but can make a big difference in the overall appearance of your shelves.
Installing Shelf Liners and Decorative Trim
Sanding: Adding shelf liners can protect your shelves from scratches and give them a more polished look. Additionally, installing decorative trim along the front edge of the shelves can add a stylish touch to your display space.
Trim: When installing shelf liners, make sure to measure and cut them accurately to fit your shelves. For decorative trim, choose a style that complements your shelves and secure it in place with adhesive or small finishing nails.
Safety Precautions: Weight Limits and Child Safety
Trim: It is crucial to be aware of the weight limits of your shelves to prevent overloading them and causing damage. Always follow the manufacturer’s guidelines and avoid placing heavy items or too many objects on the shelves. In addition, if you have small children in your home, consider installing safety brackets to secure the shelves to the wall and prevent accidents.
Summing up
Installing floating shelves is a great way to add storage and display space to any room in your home. By following these steps and considering the weight capacity of your shelves, you can safely and securely install floating shelves to showcase your favorite decor items or organize your belongings. Remember to use the right tools and materials, and always double-check your measurements before drilling into the wall.
With just a few simple steps, you can transform any wall into a functional and stylish storage solution. Whether you’re looking to add shelves to your living room, kitchen, bedroom, or bathroom, floating shelves are a versatile and practical option for maximizing space and enhancing the overall look of your home.
FAQ
Q: What materials do I need to install floating shelves?
A: To install floating shelves, you will need shelves, shelf brackets, a level, a stud finder, screws, a drill, and a measuring tape.
Q: How do I choose the right location for my floating shelves?
A: Choose a location for your floating shelves that is at a suitable height for easy access and functionality. Avoid installing shelves above heat sources or in areas with excessive moisture.
Q: How do I find wall studs to support the shelves?
A: Use a stud finder to locate wall studs before installing floating shelves. Mounting shelves on studs will provide better support and stability for the shelves.
Q: What is the recommended weight capacity for floating shelves?
A: The weight capacity of floating shelves varies depending on the type of brackets and installation method. However, as a general rule of thumb, floating shelves can typically hold around 25-50 pounds per linear foot when properly installed.
Q: How do I install floating shelves without visible brackets?
A: To achieve a floating shelf look without visible brackets, you can use hidden bracket mounting systems. These systems involve securing the shelf to the wall with internal brackets that are not visible when the shelf is installed.
Q: Can I install floating shelves on a tiled wall?
A: Yes, you can install floating shelves on a tiled wall with the right tools and materials. Use a masonry bit to drill into the tiles and install wall anchors before securing the shelf brackets.
Q: How do I maintain and clean floating shelves?
A: To maintain and clean floating shelves, regularly dust them with a soft cloth or duster. Avoid using harsh chemical cleaners, as they can damage the finish of the shelves. For stains or spills, gently clean with a damp cloth and mild soap.