
Prepping a room before painting is crucial to achieving a professional-looking finish that will stand the test of time. By taking the time to properly prepare your space, you can ensure that your paint job will be smooth, even, and long-lasting. From cleaning and priming to patching and sanding, each step plays a vital role in the overall success of your project. Neglecting these important steps can result in peeling paint, uneven coverage, and wasted time and money. By following these necessary steps for prepping a room before painting, you can set yourself up for success and achieve the best possible results.
Key Takeaways:
- Clean the walls: Ensure the walls are free of dust, dirt, and grime by washing them with a mild detergent and water.
- Repair any damage: Fill in any holes or cracks with spackling compound and sand them smooth for a seamless finish.
- Protect surfaces: Cover floors, furniture, and fixtures with drop cloths to prevent any paint spills or splatters.
- Tape off edges: Use painter’s tape to mask off areas like trim, windows, and light switches for clean lines.
- Prime the walls: Apply a primer to create a smooth surface for the paint to adhere to and improve the color vibrancy.
- Select the right paint: Choose high-quality paint in the desired finish and color for a professional-looking result.
- Proper ventilation: Make sure the room is well-ventilated while painting to avoid inhaling fumes and aid in drying.
Planning and Preparation
Assessing the Room’s Needs
Your first step in prepping a room for painting is to assess its needs. To ensure a successful paint job, check for any cracks, holes, or imperfections on the walls that need to be patched up. Additionally, remove any furniture, cover floors with drop cloths, and tape off areas you want to protect from paint splatter.
Choosing the Right Paint and Tools
Choosing the right paint and tools for your project is crucial to achieving a professional-looking finish. Paint quality matters, opt for a high-quality paint that offers durability and better coverage. Consider the sheen level based on the room’s purpose; for instance, satin or semi-gloss finishes are ideal for high-traffic areas. Invest in quality brushes and rollers for a smoother application and a more polished result.

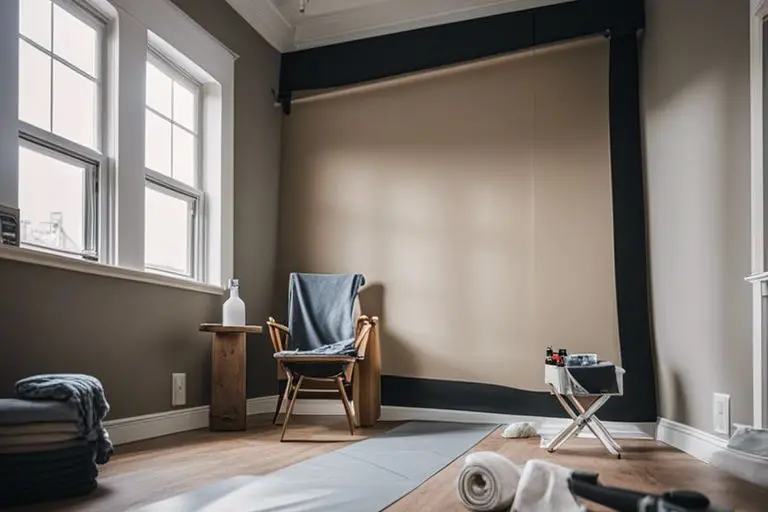
Protecting the Area
Assuming you have decided to repaint a room, it is necessary to prepare the area properly before starting the painting process. For a comprehensive guide on repainting a room from start to finish, you can refer to What are the steps for repainting a room from prep to finish?
Clearing The Furniture and Fixtures
With the goal of avoiding any accidental splatters or spills during the painting process, it is crucial to clear the room of all furniture and fixtures. This not only protects your belongings from potential damage but also allows for easier access to all areas of the walls for a more efficient paint job.
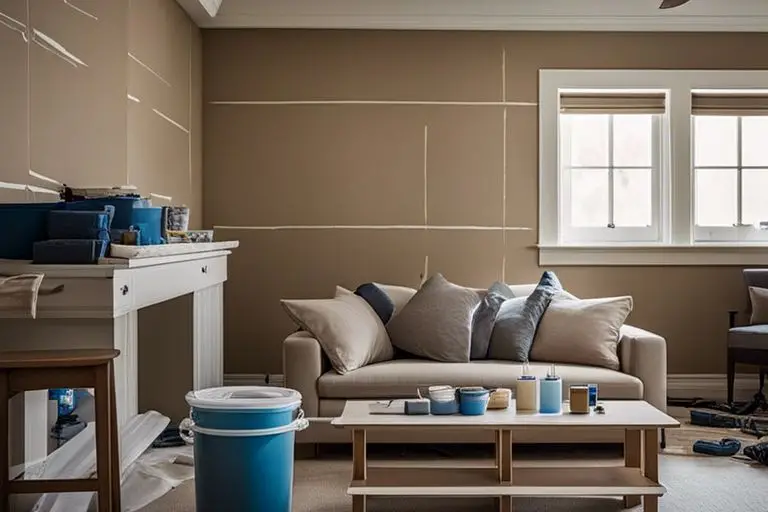
Covering the Floors and Non-Paintable Surfaces
Protecting the floors and non-paintable surfaces in the room is a critical step to prevent any unwanted paint stains or spills. This involves covering the floors with drop cloths or plastic sheets and using painter’s tape to mask off areas such as trims, baseboards, and windows. Ensuring a thorough coverage of these surfaces will save you time and effort in cleaning up later on.
Surface Preparation
Unlike First time painting a room. Any words from the wise?, proper surface preparation is crucial for achieving a professional-looking paint job. The key to a flawless finish lies in meticulous prep work. Here are the important steps to follow before picking up that paintbrush:
Cleaning Walls and Surfaces
One of the first steps in prepping a room for painting is cleaning the walls and surfaces thoroughly. Dust, dirt, and grime can affect the adhesion of the paint, leading to a less-than-desirable outcome. Use a mild detergent solution and a sponge to wash the walls, then rinse with clean water and let them dry completely before moving on to the next step.
Repairing Holes and Imperfections
Walls in a room often have imperfections like holes, cracks, or dents that need to be addressed before painting. Using a spackling compound, fill in any holes or cracks and smooth them out with a putty knife. Sand the repaired areas once dry to ensure a seamless surface for painting. It’s crucial to fix these imperfections as they can show through the paint and affect the final look of the room.
Properly repaired walls and surfaces provide a smooth canvas for the paint to adhere to, ensuring a flawless finish. Take the time to address any imperfections, as overlooking them can lead to unsightly blemishes on your walls once the paint has dried.
Priming the Surface
Now, before you start painting a room, it is crucial to prep the surface properly. For a detailed guide on how to prep a room for paint, check out How to Prep a Room for Paint.
When and Why to Use Primer
The use of primer is imperative when painting a room for several reasons. Primer helps to seal the surface, ensuring better adhesion for the paint. It also prevents stains and enhances the color and durability of the paint. If you are painting over a dark color or a glossy surface, using primer is particularly important to achieve a smooth and even finish.
Applying Primer Effectively
The key to applying primer effectively is to ensure even coverage over the entire surface. Use a quality brush or roller to apply the primer in long, smooth strokes and make sure to spread it evenly. Allow the primer to completely dry before painting over it to ensure the best results.
Priming the surface is a crucial step in the painting process that should not be overlooked. It prepares the surface for the paint, helps the paint adhere better, and ultimately results in a professional-looking finish. Take the time to prime the surface properly, and you will be rewarded with a beautifully painted room that will last for years to come.
Conclusion
Ultimately, following proper steps for prepping a room before painting is crucial for achieving a professional and long-lasting finish. By thoroughly cleaning the walls, repairing any damages, using the right tools and materials, and protecting floors and furniture, you can create a smooth and even surface for your paint to adhere to, ensuring a successful painting project. Taking the time to prep a room properly will not only result in a better-looking paint job but will also save you time and effort in the long run.
FAQ
Q: Why is it important to prep a room before painting?
A: Prepping a room before painting ensures better paint adhesion, longer-lasting results, and a smoother finish.
Q: What are the steps involved in prepping a room before painting?
A: The steps include clearing the room, repairing walls, cleaning surfaces, protecting floors and furniture, and applying primer.
Q: How do I clear a room before painting?
A: Remove all furniture, wall decorations, and switch plates. Use drop cloths to cover floors and any remaining furniture.
Q: What should I do to repair walls before painting?
A: Fill in any holes or cracks with spackle, sand the area smooth once dry, and prime patched areas to ensure even paint coverage.
Q: How do I clean surfaces before painting?
A: Use a mild detergent solution to wash walls and trim, then rinse with clean water. Allow surfaces to dry completely before painting.
Q: What is the best way to protect floors and furniture during painting?
A: Use drop cloths to cover floors and plastic sheeting or old sheets to protect furniture. Remove or cover any hardware that cannot be removed.
Q: Why is applying primer an important step before painting?
A: Primer helps paint adhere better, blocks stains, and allows for truer color representation. It also provides a base for the paint to adhere to, leading to a more durable finish.